Wednesday, 26 November 2014

Game art conference notes


Today we were treated to a program that will help improve the quality of writing for our blogs following the feedback we had received earlier about our blogs.

The criticisms of my blog posts include the fact that I simply describe what I've experienced during the weeks rather than actually going into depth about how I can actually develop my work. It seems I need to be more critical of my work, analysing it and breaking it down. More specifically I need to really break down the what, why's and How's of the images and work I post up.

In addition, I need to ensure I am writing more about the course as a whole including modules such as critical studies and life drawing not just visual design and game production.

Moreover, on the visual side of things my blog can be cleaned up. I was criticised about the colour scheme of my blog and as of now, I have adjusted it to allow the text to be read easier. Additionally some of my images are not so clear and need editing before being uploaded.
Below are reflections on the sessions of the programs I enlisted in.

Word art using words creatively
During this session, we learnt how to use creative language to dissect our artwork. We were given a choice of images to look at and we were tasked to analyse the images elements and develop both a name and reasoning behind the elements of the image with the end result almost being a sort of narrative to serve as companion to the piece. These sessions gave me more of an idea as to what to do in reaction to my criticism of going in depth about my analysis of images. However, one problem I had with this session was that it claimed that we should use more words creatively and feature more so-called "exciting language" to bring our descriptions to life however they didn't explain how we may balance this and prevent our posts from being too informal. 

Being critical in your blog
This session was similar to the last and developed on using language to analyse images however I felt this session to be very repetitious of the same point of who, what, why and How's.

How to write when you don't want to write
I was especially excited about this session as this is a problem that I have been battling since I have been on this course. During this session, we learnt about free writing where one just continually writes what is on their mind as well as mind mapping to allow us to map out what we will write about. These tools may prove to be quite useful in the future as my current writing style consists of just jumping into the deep end and writing as I go along.
One problem I had with this session was that it did not address the problem finding writing difficult based on whether you do or do not enjoy writing. However, one of my fellow students recommended t a way around this problem would be to write small segments throughout the week of a blog post. This way it will eventually build up to one post without having to deal with the stress and anxiety of starting a full post.

Practical strategies for getting on with it
This session discussed the barrier we may face when completing work. During the session, we made timetables based on how we prioritise our tasks, however I felt that this talk was more directed towards traditional university courses such as Maths and English and some of the strategies would not translate so well to more creative and contemporary courses such as ours.


Sunday, 23 November 2014

Week 7 and 8


These past 2 weeks were focused on the new village project, which according to our tutors would test all the skills we have accumulated over the past weeks on the course. During this project, I had to work towards a style guide, which consisted of being organic, friendly, and chunky and it has to reflect a medieval/Tudor theme. This was both a blessing and a hindrance as it meant firstly I could refine my ideas over a small subject area and not get carried away however it also meant that I couldn't go too far with my ideas and would sometimes limit my creativity at times.

During these 2 weeks, we learnt how to improve our workflow through iteration and producing a photobash kit as well as doing paintovers of our 3d models. This bit of information I felt  allowed me to improve how I approach each project set by game production as before I used to work in a linear path focusing on mainly 2d concepts and then producing a final outcome in 3d. However, these weeks has shown me it is actually more efficient to work both in 3d and 2d as this allows the end result to achieve the highest quality possibly since we can iterate on problems we run into in 3d.

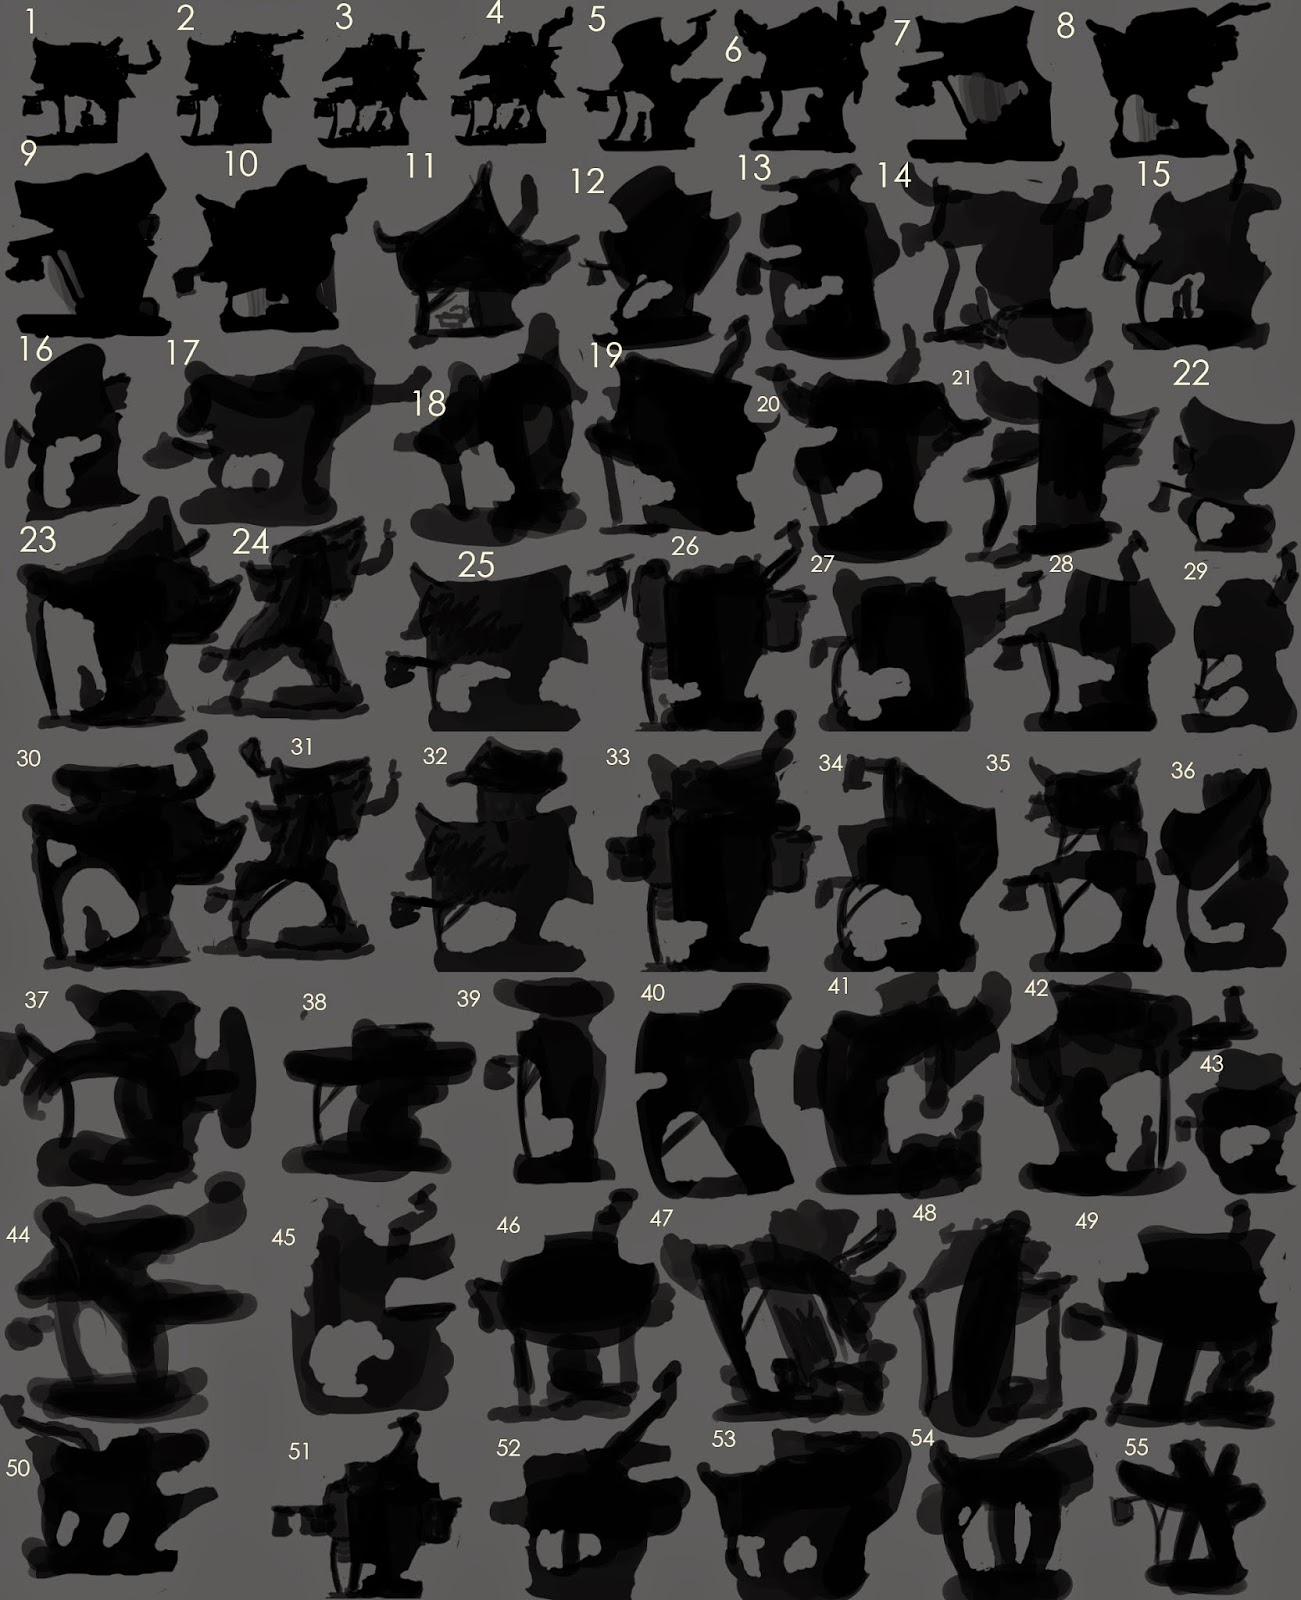
Overall, the village project was a very enjoyable project but hard to manage time wise as I spent too long in the concepting stage, producing silhouettes and didn't anticipate how long the unwrapping process would take. I felt that the process wasn't difficult as I have started to become used to the process of unwrapping using pelt wrapping and quick planar maps to sort my problems. The problem itself was dealing with each individual area and assigning them to each of their individual material ids. This problem was time consuming and at times felt a bit tedious however, I soon learnt to take breaks with each unwrapp to allow myself to recharge and approach each problem anew. Looking back I should have taken advantage of using paintovers on 3d models more as when I got to the modelling stage of my building I had found that my final concept didn't translate so well from 2d to 3d, as the roof design I had initially settled on looked reminiscent of oriental culture. If I had worked both in 3d and 2d more instead of taking a linear approach this problem could've been avoided in the first place. However, during the modelling stage of my project this problem was rectified eventually when I did use the paint over advice given by my tutors to resolve this issue as well as producing a mood board on Tudor/medieval architecture.

For this project, we were also tasked with working in groups, which was a new experience for me on this course. Whilst working in groups there were small problems, which we had to deal with until we had critical studies with Avril who taught us how to be more organised with our teamwork. From her session I learnt that in terms of my personality I could be considered as an explorer; someone who strives for new ideas and hopes to bring out most in people, however this means I can be quite dominant. I personally consider this both a good and bad thing. On the positive side, this means that I can serve as a possible authority figure when it comes to future group work however; this also means I have the problem of being too dominant and not allowing others to voice their opinions. Since this has been pointed out to me, I have since started to rethink how I act around others so that when I do work in another future group project I do not cause conflict.

Finally, we also visited Bradgate Park during these weeks to collect reference for the upcoming tree project. I thought this was fun and very helpful, as I need to go out more and collect first hand reference more. This conclusion derives from my experience with the rock project. For rock project, I was lacking first hand reference and hence I had to fake it in order to get a design, which looked like a rock. Hopefully, for the upcoming tree project I'll be more prepared with my research.

This weeks artwork.
Silhouettes - I think i went overboard with the silhouettes as I only ended up using on design. Personally I feel looking back I used the silhouette stage as a way to procrastinate from future stages as around this time I still wasn't very confident with 3d modelling yet. This however changed when I got to the initial modelling stage of the house and Craig from game production sat down with me and showed me how I would approach modelling by manipulating and scaling verts.


Photo bashes - being dis attatched from my design now I can already see hints of asian elements in how I handled the flicks of the roofs


First intial paintover - didnt go so well. Looking back however there was already signs of my building reflecting asian culture rather than medieval

Base of paint over


Results from second paint over


Working as a group to achieve a consistent design


Final concept


Orthos

Translating my design to 3d

Too much exaggeration on the flicks of the roof caused my design to be reminiscent of this architecture
Final render textured hand painted

Monday, 10 November 2014

Medieval Blacksmith research for blog

The term smith istelf refers to someone who works with metal, the 'Black' refers to dark metals such as iron.

Blacksmith forge is a workplace where metal is worked by a blacksmith by heating and hammering via a furnace consisting of a special hearth where metal is heated before shaping. The name of a forge was also referred to as a smithy.


Smithy
 A forge wagon was a wagon fitted for transporting a blacksmiths forge and tools. A portable forge was a light and compact blacksmith forge that may be moved from place to place.
A portable forge (may not be quite medieval)

Medieval styled wagon (would be best to merge these two images for a result)


Medieval Blacksmith tools and equipment
  • Anvil
  • Tongs
  • Hammers varying in size for shaping and finishing
  • Swages - Tools variously shaped or grooved on the end or face used by blacksmiths for shaping their work by holding the swage upon the work or the work upon the swage and striking with a slegehammer
  • Swage Block - a perforated block of iron, having grooved sides and adapted for use in heading bolts and swaging object of a large size
  • Fullers - A half-round set hammer, used by a blacksmith for forming grooves and spreading iron. Also known as a 'creaser'
  • SledgeHammer
  • Punches - Tools for making (usually circular) holes
  • Drifts - Slightly tapered tools of steel for enlarging or shaping a hole in metal by being forced or driven into or throught it. Also called a broach
  • Axe
  • Chisels
  • Bit - A tool for boring of various forms and sizes
  • Auger bit - a bit with a cutting edge or blade
  • Molds for making popular and everyday items
  • Nails
  • Table,stools,shelves


Blacksmith belows

A blacksmith below are a device that blows air onto a fire to make it burn more fiercely.

Blacksmiths items crafted

  • Medieval weapons
  • Siege weapons
  • Medieval Armor and shields 
  • Tools
  • Nails
  • Church and Castle Doors - hinges,locks and keys
  • Portcullis
  • Instruments of torture and chains
  • Household objects including knives,light fittings, pokers
  • Ornaments
  • Jewelry
  • Decorative Objects


Life of a Medieval Blacksmith

The life of a Medieval Blacksmith would depend according to their location

  • Village Blacksmith - lived in a small rural community making various tools,household objects and weapons
  • Castle Blacksmith - Lived in the protection of the castle and required to make and maintain the weapons and armor of lords, knights and men at arms
  • City of Town Blacksmith - Lived in the town and belonged to a guild
  • Monasteries or Abbeys - Monks were also blacksmiths
  • Medieval blacksmiths were also an important part of a fighting army, producing new weapons, keeping up a supply of arrowheads and repairing and the maintenance of old weapons and armor


Sunday, 9 November 2014

Week 6

This week my main focus was on wrapping up my rock project. This included the modelling, unwrapping and texturing stage of the project. However before moving onto the 3DS max stage of the project I first produced a set of orthographics however this didn’t go so well first time due to my weakness in perspective and thus I produced a second set of orthos this time using reference from a physical 3d model of the rock I produced out of Blu Tac and Putty Rubber. Before making this model in Blu Tac I did however make a model in foam which wasn’t really successful because I’m not very strong when it comes to subtractive modelling. When it came to the modelling stage of the project I felt the orthographics aided me greatly and my experience with 3D seems to have improved since I’m more comfortable with the program, some of the problems I ran into I could solve. In terms of the overall final product I feel as if it didn’t turn out like how I wanted it to look visually. This was most likely because I didn’t follow my orthographics as closely as I could have.
First attempt at Ortho

Visual reference for ortho

Second attempt at Ortho

Texture (the texturing stage was very pleasant)


Rock in Engine


In between my time with Uni work I also sought to produce some more personal work using what I’ve learnt from Uni such as iteration, silhouettes and other information to produce a set of visual studies and concepts the images below are the concepts that have been produced as a result.

Value study

Concept for a cyborg like character using silhouettes and a thumbnail
Final


Sunday, 2 November 2014

Week 5

My 5th week into the course I felt was very enjoyable since the project given to me allowed me to concept ideas and reiterate; something I enjoy doing quite frequently. However firstly, this week we were tasked with visiting the guild hall and drawing elements of the building as well as the various furniture within the building. All this work is in preparation for our medieval village project in which we have to craft a stylised medieval village. Hopefully my time at the Guild hall will give me a set of tools to work from when crafting my village. Moreover I found the trip to the Guild Hall quite enjoyable as it allowed me to sketch from life and immerse myself in the local Leicester culture.
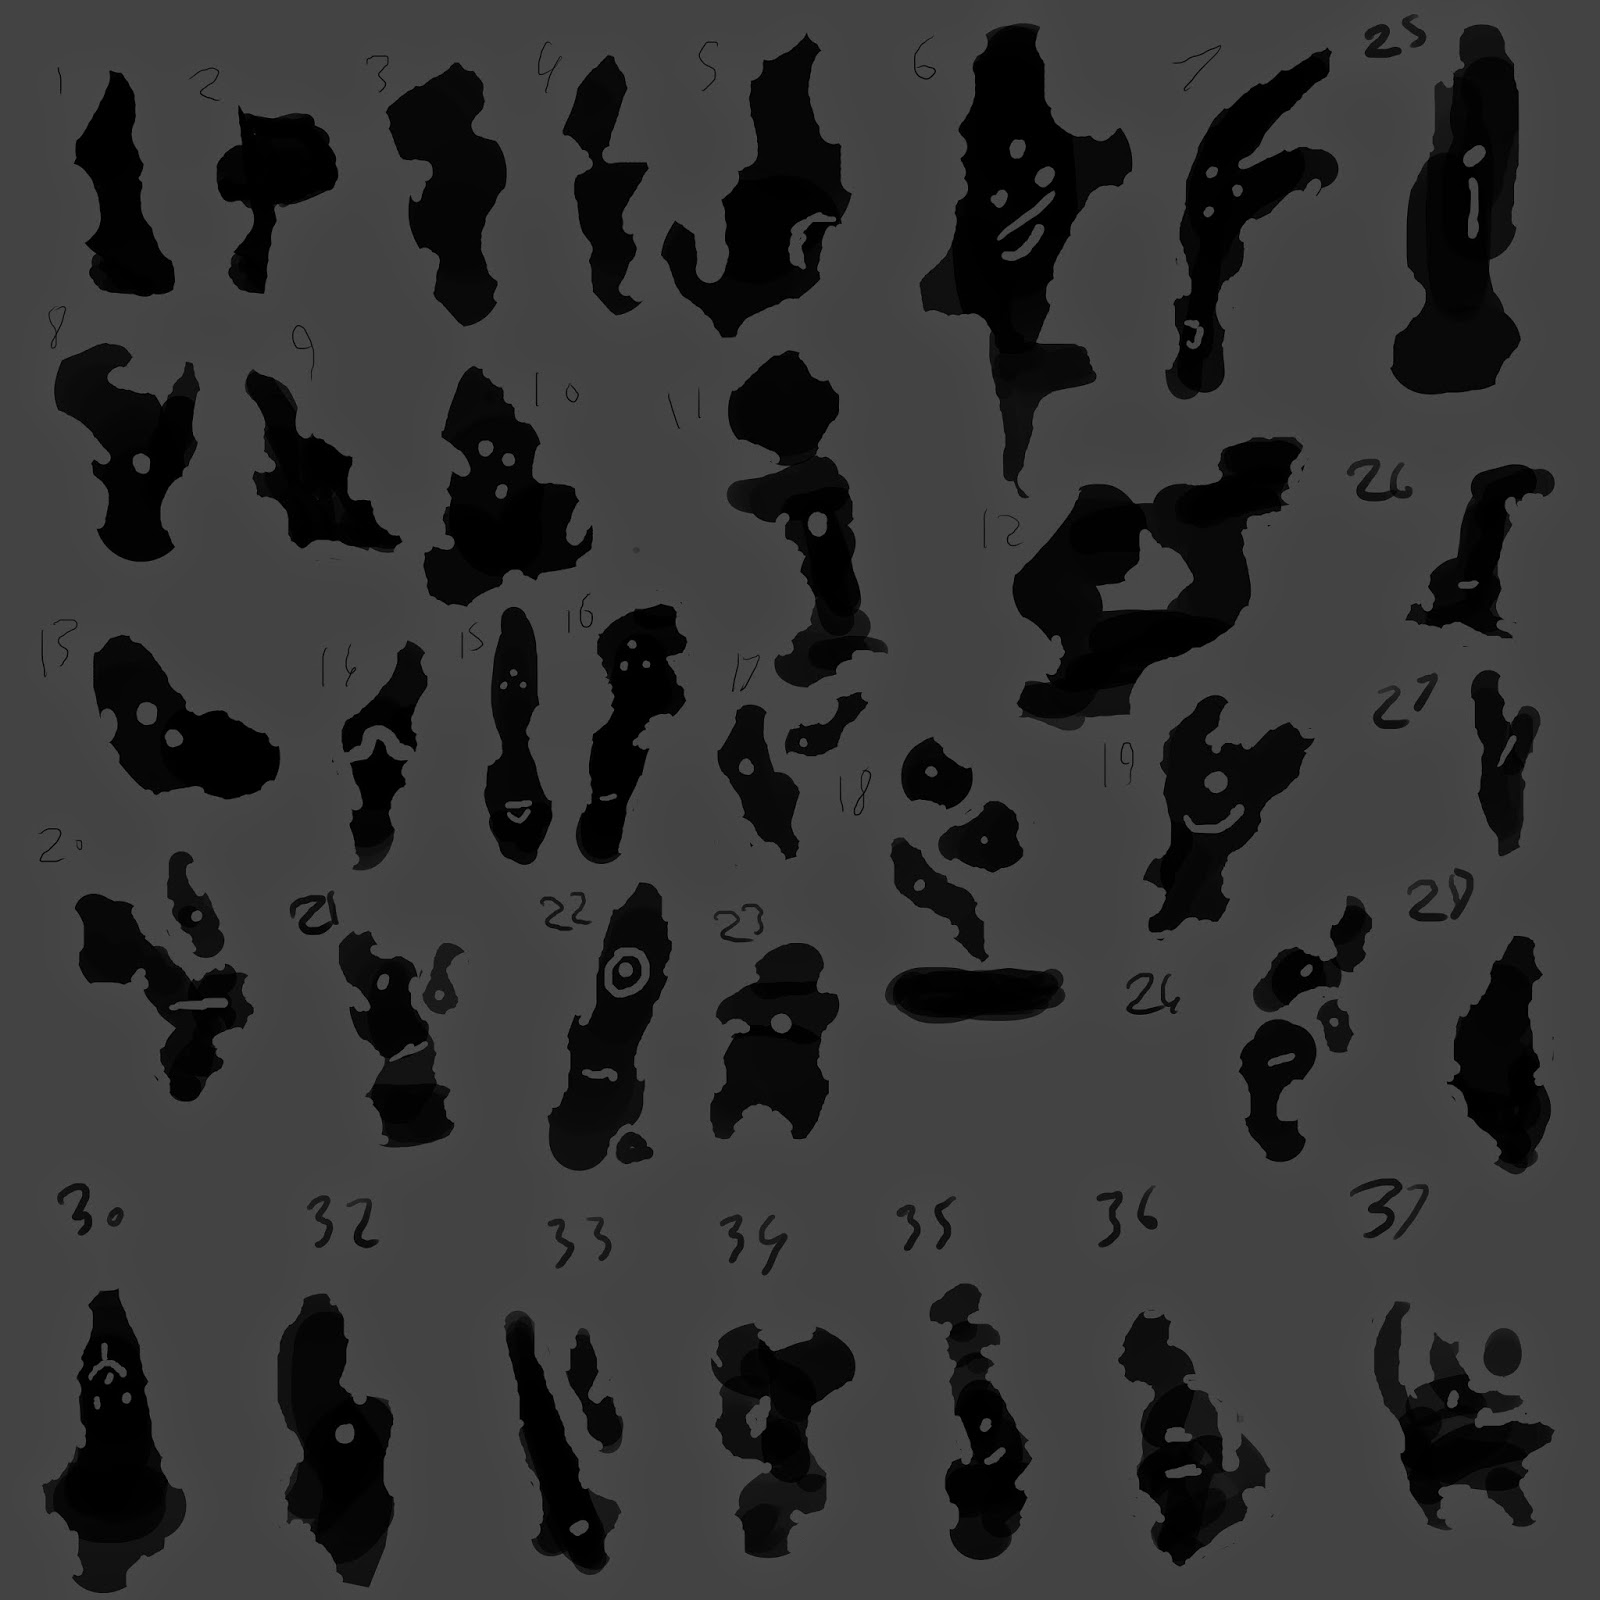
In game production we have been set a project to develop a stylised rock which we have to concept. A project like this caught my interest and so far I’ve been enjoying every single second of it. I approached this project by firstly producing silhouettes and a rock moodboard for reference, then relying on audience feedback and my own intuition I chose 3 silhouettes I would then work into. When I worked into these silhouettes I noticed the way I rendered them still made them seem quite flat. This was probably because my first hand reference of rocks i.e drawing rocks from life was quite weak and hence I didn’t quite understand how the planes worked. Therefore to get around this I re drew the silhouettes traditionally and then broke them down in simple 3dimensional shapes such as cylinder and cube and then proceeded to draw on top of it and then add more elements and bumps to the form.

After this I rendered 3 designs to the best of my ability then chose a final design to which I worked into adding colour then making various colour variations of this rock. After that I used audience feedback and my own ideas to inform my decision of which colour to choose. Finally I then added finishing touches such as moss and a Celtic inspired pattern to create a context for this rock design.
Hopefully this should lay a good foundation for the 3ds max modelling stage

The Guild Hall


Digital Painting of Guild hall


Stylised Rock Progress


Sunday, 26 October 2014

Week 4

This week has been quite a hectic and if not stressful week. In visual design we took a look at tones and values more specifically how to handle a value scale as well as briefly touching upon the planes of the human head. I was quite pleased with this part of visual design since this area in art is an area I've always struggled with. Not only this but as an aspiring character artist anything to do with the human form and portraiture gains my interest.

Our task for this week in visual design was to approach rendering different textures and styles as a preliminary task for the soon to be arriving rock project and the village project. I feel quite anxious about these projects as I feel that my traditional rendering techniques of texture could be stronger however this week's task has at least started me on my path to resolve this weakness.

Moreover this week I was given quite a challenge which I found took up a lot of my time. The Sci-Fi crate. This project I found was very stressful and time consuming as I find 3D to be my weakest area on the course however I want to push myself so I can one day look these blog posts and have a laugh at my past struggles. I think the hardest and most tedious part about the project was the unwrap process. I found that every time that I would find progress with the crate and import my texture to 3DS Max I would find small minor problems I would have to correct. Although I found this part of the crate the most painful part, the texturing process I found was very enjoyable as it allowed me to explore my creativity and experiment with textures.

During this week I was also introduced to developing silhouettes as well as a task on creating a story for our Cubeeman through photos. Although I myself haven’t practised with the silhouettes process yet I plan to use the knowledge I gained from the session to produce strong concepts for next week’s rock project.

For the story of my Cubeeman I decided to set it around my Cubeeman visiting MCM comic con in London. Not only did this allow me to gain interesting photos and compositions for my Cubeeman, this trip allowed me to see my character design in context against other strong and iconic character designs. (I also got to go to comic con which was a plus).


Below is a slide containing visuals for all the projects I’ve produced this week.


Numerous Failed UV unwraps